If you’ve never heard of chalk paint, drop what you’re doing and do some research! It’s a life changer (and addicting). I used to dread painting. I really hated it! Now, I love it. Using chalk paint is super easy, fun, and so artistic. The beauty of the piece is in the eye of the beholder. Paint just one coat, distress as much as you want, or layer multiple colors. The creativity is up to you. It’s easy to learn how to use chalk paint and I’m going to show you how today (there’s really not much to it).
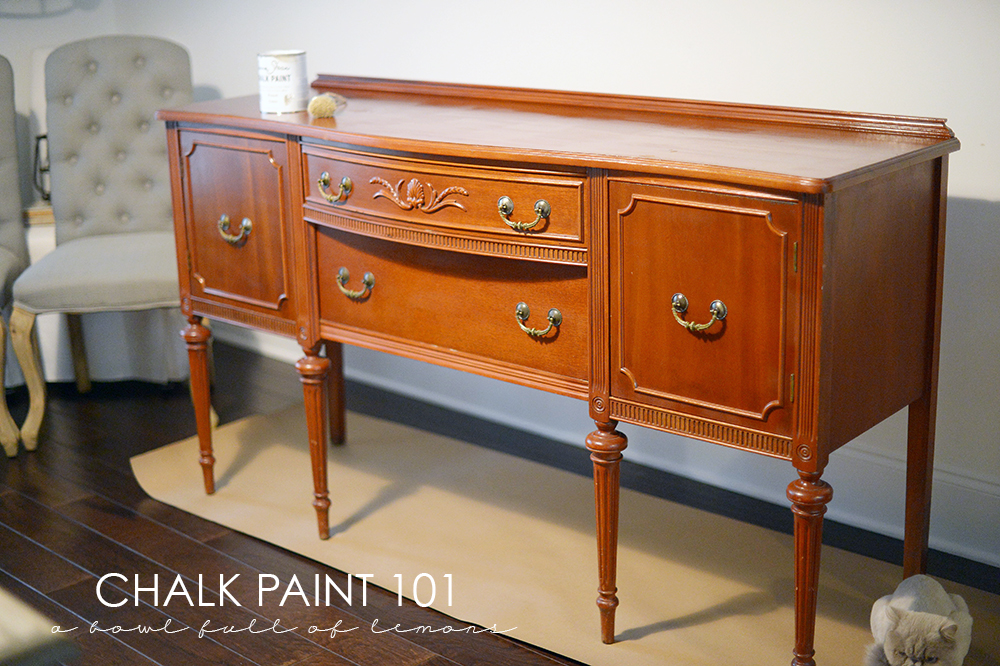
STEP 1: Decide what you are going to paint. I found this old buffet table at an antique store for $200. You can find old furniture on Craigs List, garage sales, estate sales, thrift stores, your mothers attic, etc. Chalk paint turns just about any old piece of furniture into something beautiful. Most people would walk by this table at the store without giving it a second glance. It’s orange and well it’s just really orange! I liked the shape and that’s what mattered. You have to look past the color. Just think chalk paint = transformation!
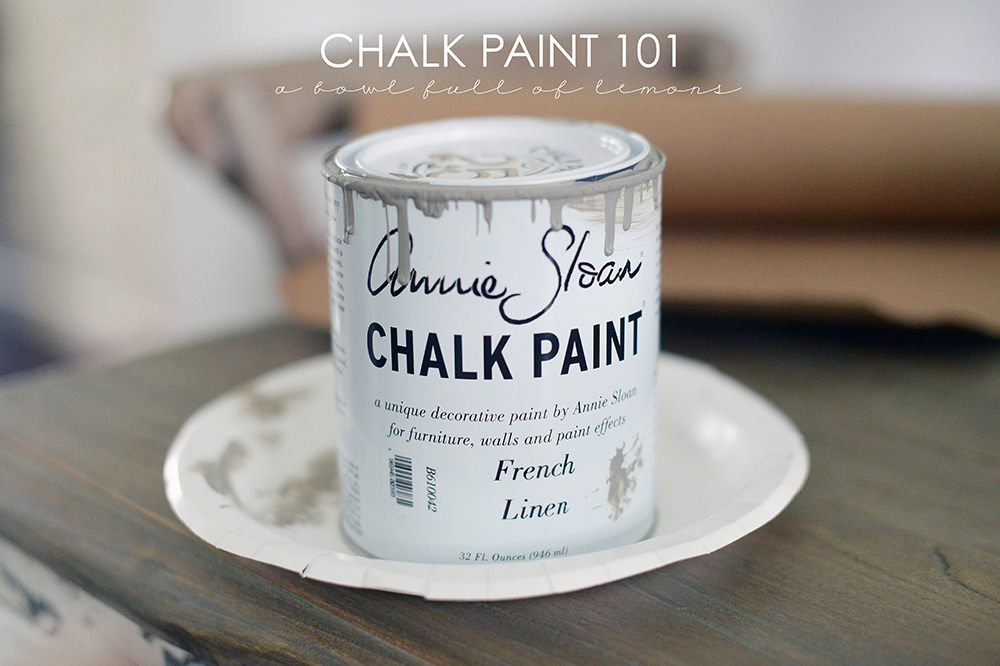
STEP 2: Purchase your chalk paint and supplies. There are many brands available but I prefer Annie Sloan. She has great colors. To purchase Annie Sloan chalk paint, you will need to find a stockist in your area. You can also purchase Amy Howard at Home chalk paint at Ace Hardware. I have not tried her paint but have heard great things about it. Once you get your paint, you’ll need to gather the rest of your supplies.
WHAT TO PURCHASE:
- Chalk Paint
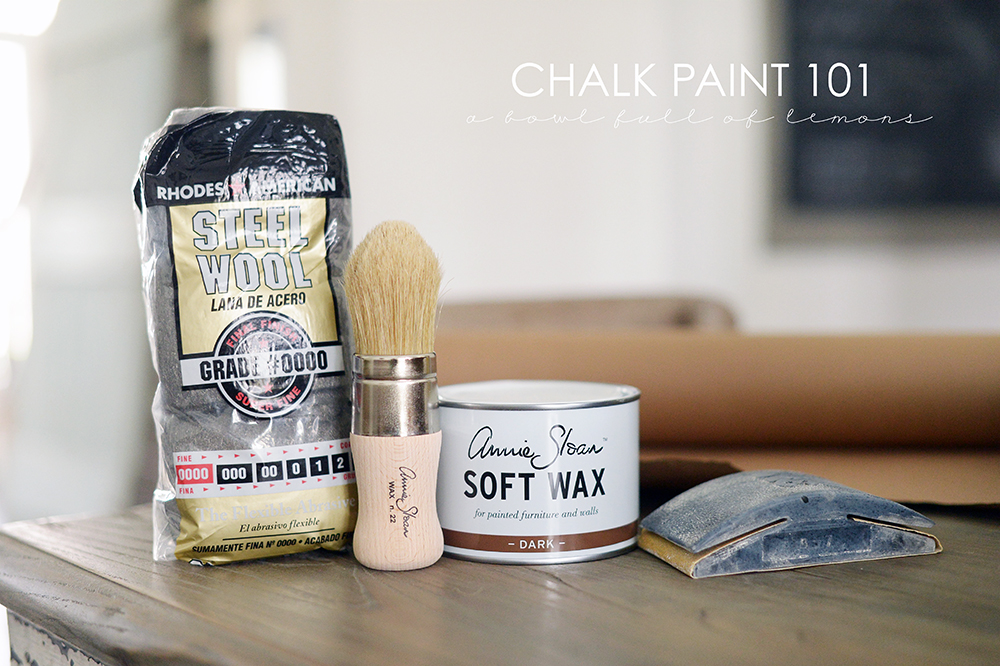
- A Chalk Paint Brush – These brushes are oval shaped and much different than a typical flat paint brush. They are designed to produce a textured, vintage finish, and they hold a large amount of paint. Make sure to clean throughly after each use. In between coats, you can store them in a Ziploc baggie in the refrigerator.
- Sand paper or sand block to distress the furniture after your last coat of paint. You can sand before or after you wax. It’s up to you. I distress before I waxed.
- Wax and a wax brush or lint free cloth. In order to seal in the chalk paint and protect it, you’ll need to wax your furniture. There are two types of wax – clear and dark. Wax protects your furniture and gives it a subtle sheen. It’s water repellent so you can even use it on a kitchen table. Do not use wax on outdoor furniture as it will melt. You may need to re-wax after a while, depending on wear. Dark wax can be applied after clear wax for a more distressed look. Wait at least 24 hours in between each coat of paint & wax for best application and durability.
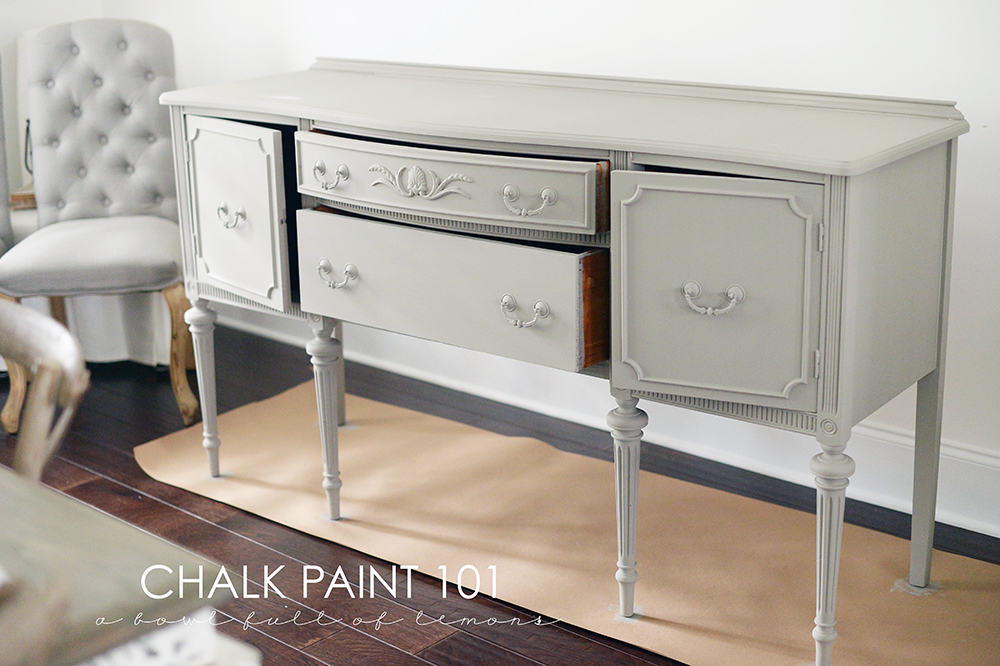
STEP 3: It’s time to paint. For the buffet table, I chose the Annie Sloan paint color French Linen. It’s neutral and just beautiful. The image below shows what the piece looked like after one coat of paint. I let it dry overnight before painting another coat.
Maggie wasn’t too happy with me this day. I spent too much time painting and not enough cuddle time with her.
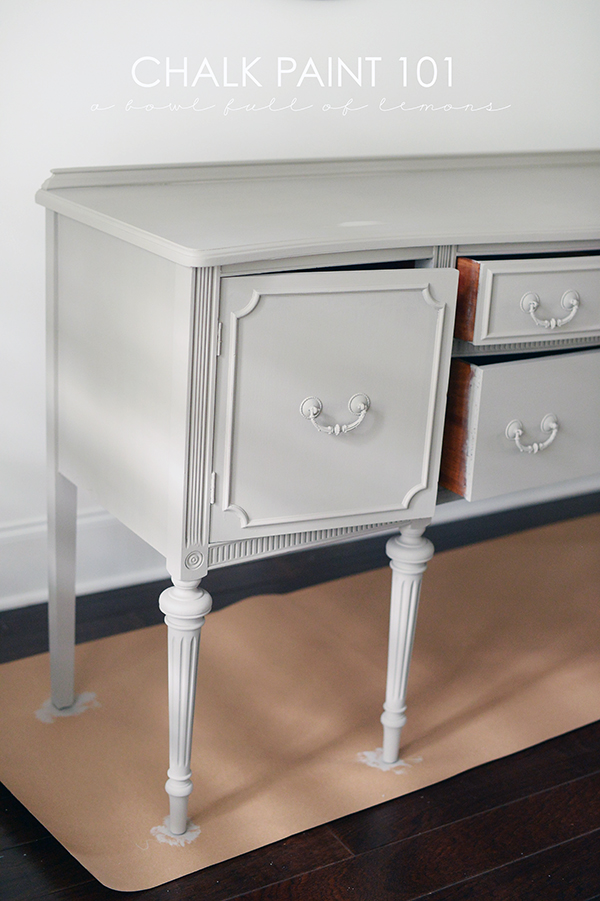
The number of coats you paint your furniture is up to you. I liked the look after two coats. You may like just one or go with two or three. There’s no rule. Just remember to wait at least 24 hours in between coats. Below is what it looked like after two coats. Tip: If you see a pink hue coming through the paint/furniture, you may need to spray lacquer the piece to seal in the old wood before painting another coat.
Make sure to protect your floors!
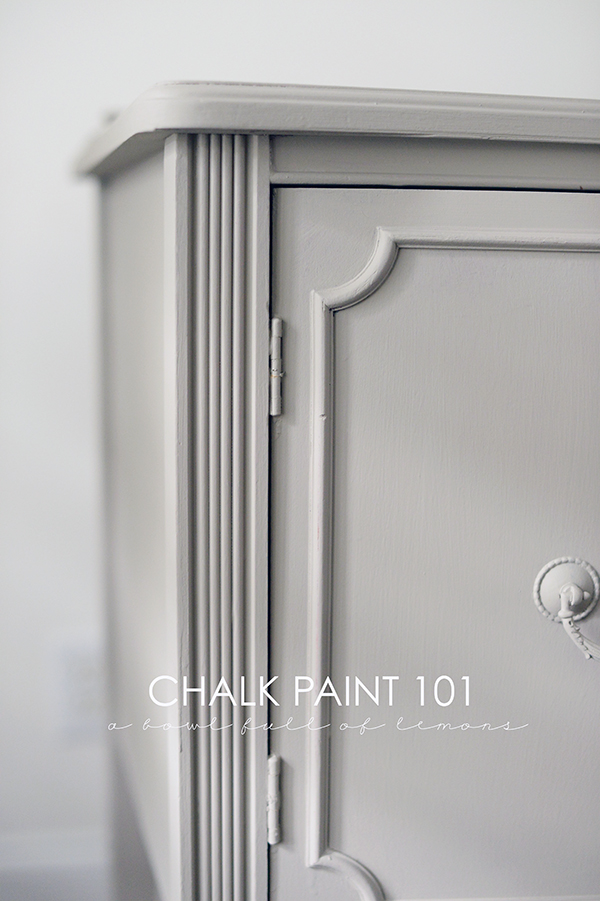
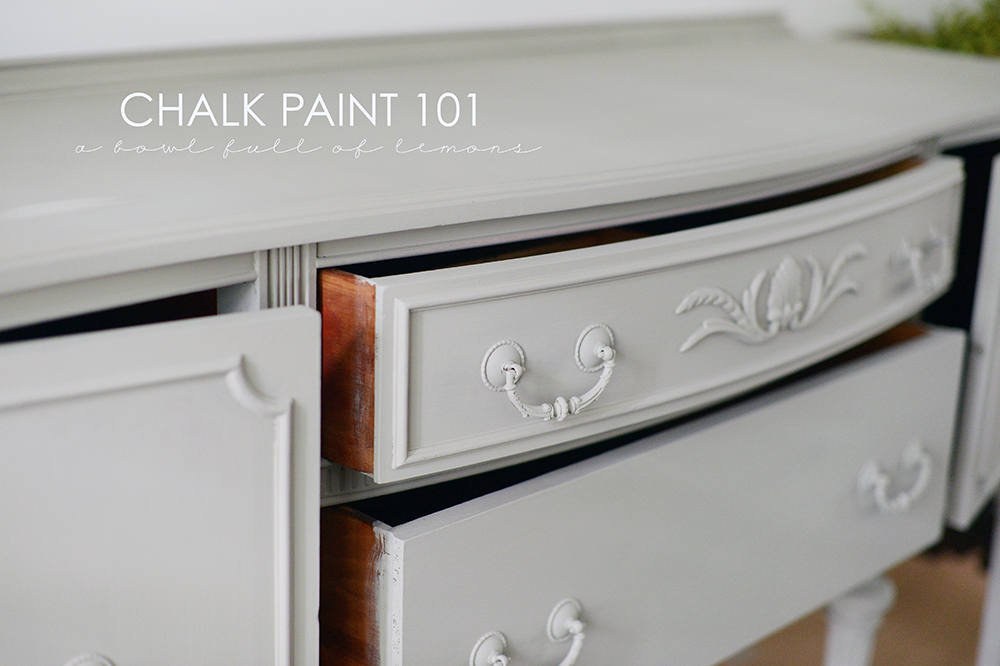
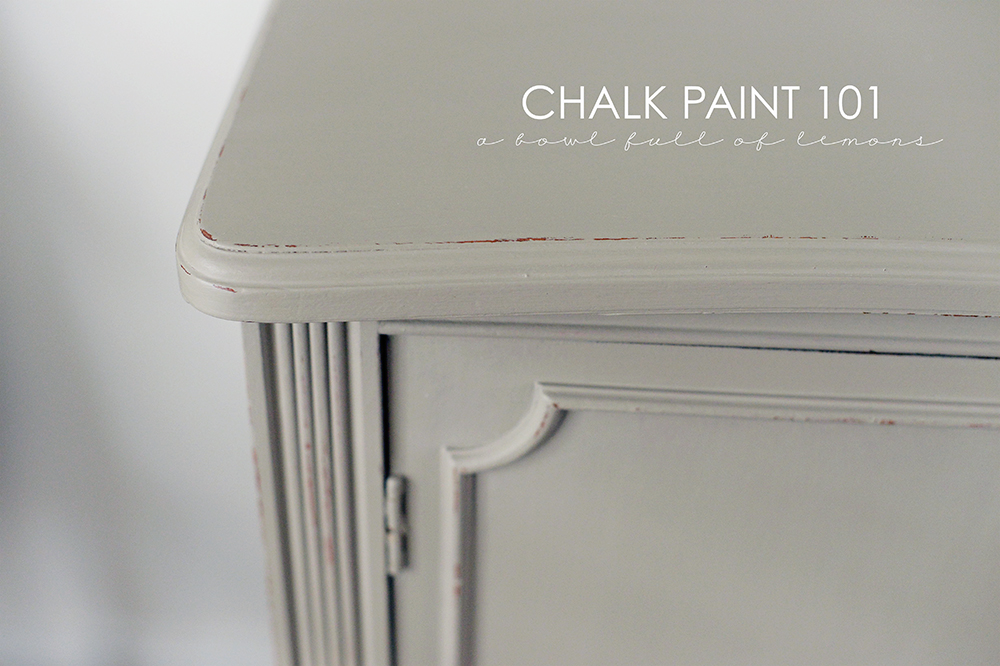
STEP 4: Distress the furniture using sand paper. Twenty-four hours after the second coat, I distressed the piece with 100 grit sand paper, using a sanding block. Concentrate on the corners, around the handles and across the edges to give it a more naturally aged look. Once you sand, make sure to wipe it down with a dry cloth to remove all of the dust.
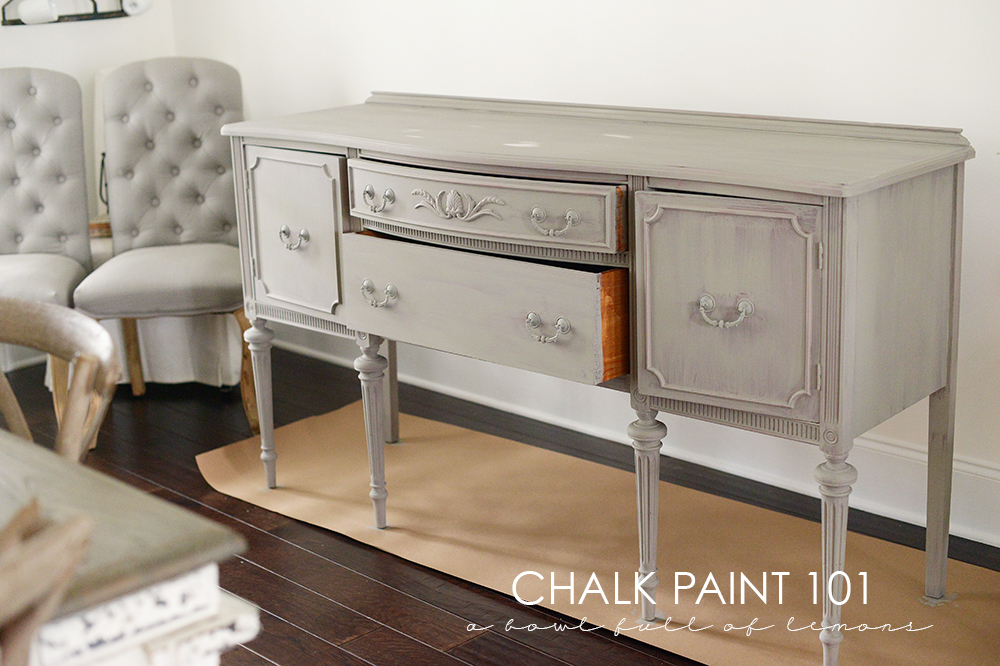
STEP 5: Wax. I am still debating on whether or not I want to distress with dark wax so for now, I applied one coat of clear wax. I used a wax brush and brushed on the wax in the direction of the grain. Then I buffed out the wax with a soft lint free cloth. Make sure you give the furniture 2-3 days to dry before using it. It takes about 30 days for the paint to cure so keep that in mind when placing something on it.
APPLYING DARK WAX: If you’ll be antiquing your furniture with dark wax, apply just a very small amount using a wax brush. Remove excess wax and blend using soft grade steel wool. I can’t stress enough that dark wax should be applied sparingly. You can even mix 50% dark and 50% light wax for a more subtle look. 🙂
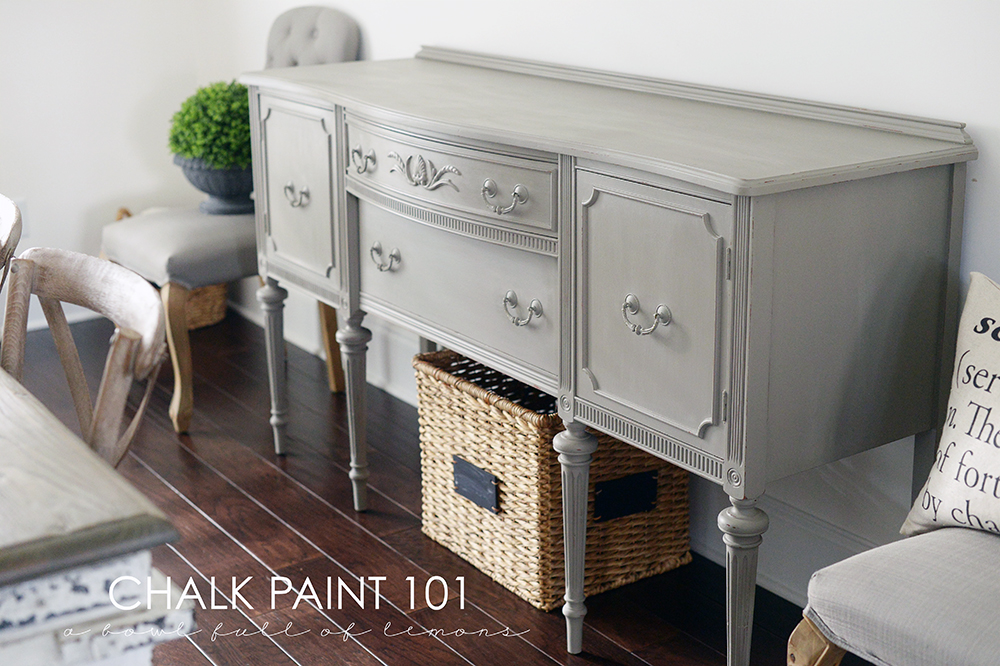
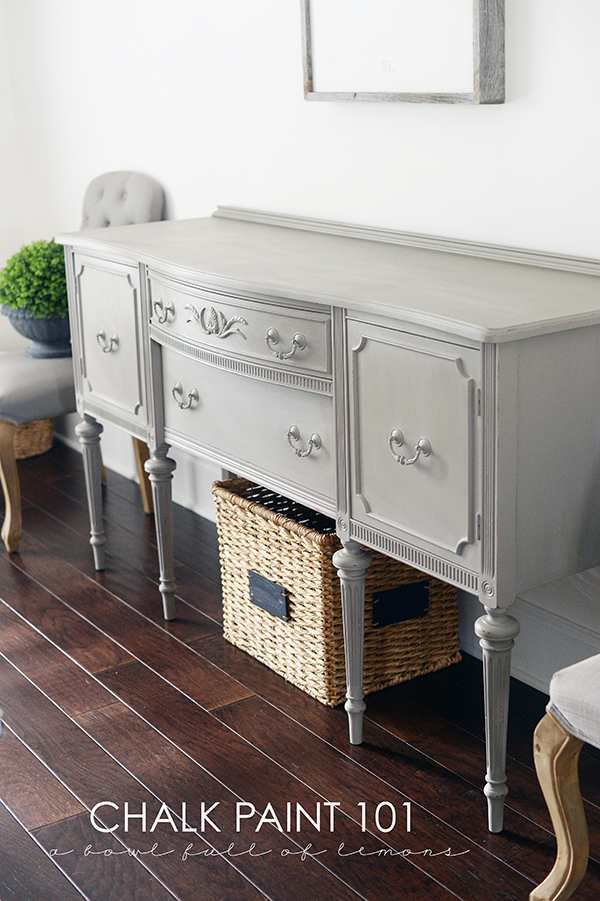
I’m still waiting on the paint and wax to dry/cure so for now, it remains bare.
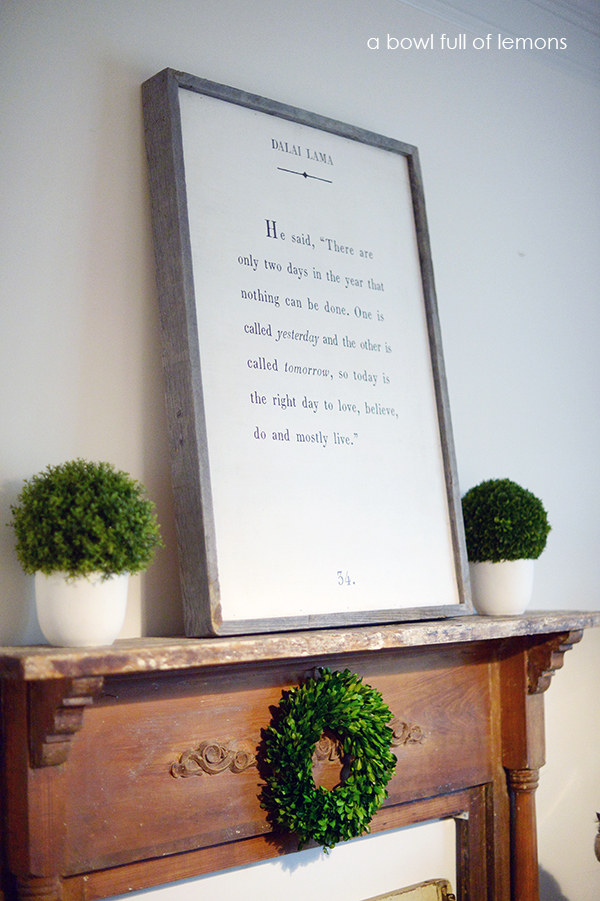
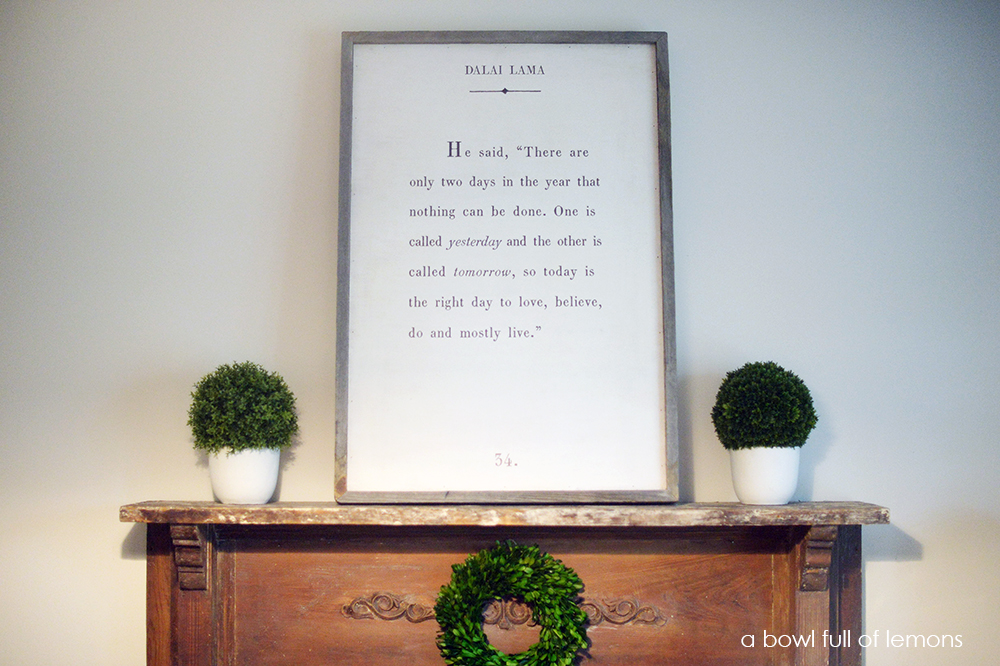
On the other side of my dining room you’ll find my vintage fireplace mantle. It’s decorated with my favorite Sugarboo artwork. I just love the simplicity of the Sugarboo style.
Sign up for the Sugarboo newsletter to get 15% off your first order. 😉
I will be updating the dining room with holiday decor in the next couple of weeks so I’ll be sure to share more of this room soon. Have a great day!
Tags: annie sloan, chalk paint, decorating, painting
Blog, Decorate, Decorating, Dining Room, diy, November 2015, Tutorials Posted in
21 comments


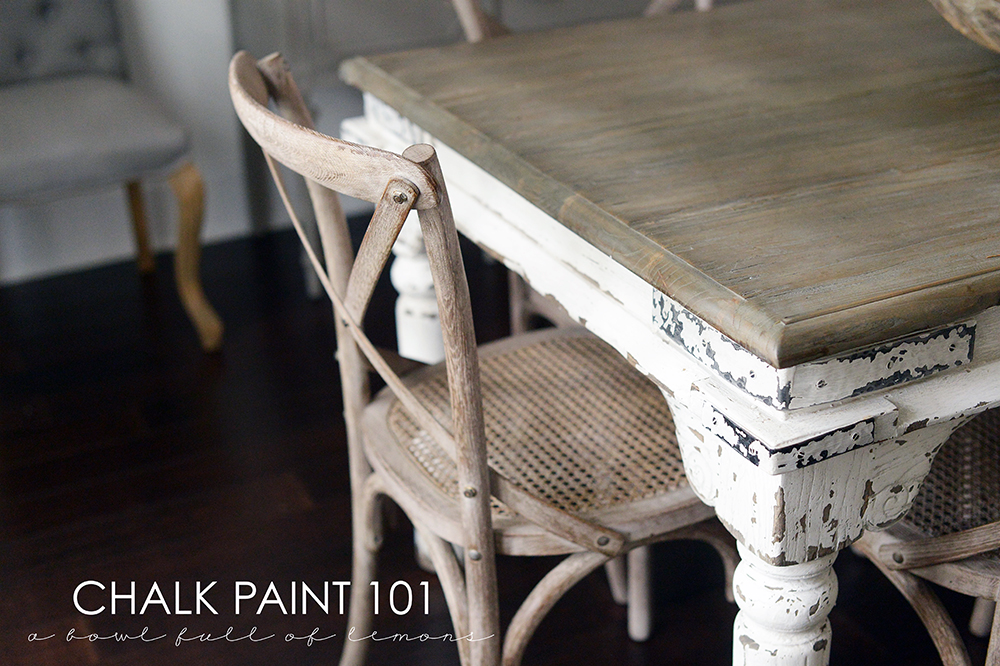





Toni, what colors did you use for your table/tabletop?
The table is actually from Restoration Hardware. Its something you can recreate on your own though. I would say use pure white and distress it like crazy! The top looks whitewashed.
My table is white…how could I make it look like the one pictured? What colors to get that “gray’ for table top?
Great tutorial! I’m ready to give it a try. What did you do to the hardware?
I just painted over it. I like the look of it painted. 🙂 Its super easy!
Thank you for these useful tips!! Looks beautiful.
It looks as if you left the interior of the piece unfinished. Is it possible to paint that as well or will it wear off quickly?
Hi Toni, Thank you for the tutorial, it was so good for me an avid painter but complete novice at chalk paint affects many thanks and will continue to follow X
You have inspired me! I despise painting! But, it is BADLY needed throughout my entire house….thank you for this awesome post!
Thanks so much for the tutorial! Your table looks beautiful! I’ve never painted anything other than a wall before…did you have to prep your furniture in any way before the first coat of paint?
Love it! We’re actually thinking of using chalk paint for my son’s unfinished bed and dresser… How much paint did you end up using for the buffet table?
Did you sand your furniture before the first coat of chalk paint?
Love this 🙂 Chalk paint shopping for the first time this weekend so this post had perfect timing!! Saw the news about you book on Instagram….will you post about it here soon? Congratulations!!
Hello,
Using chalk paint is really easy and looks artistic! Thank you for this article! The old furniture in my home is now looking as fresh as never before! I adore it! 🙂
Have a great day,
Lina
My table is white…what color would you suggest I use to get that look of that table from Restoration Hardware…that driftwood shade?
I can not wait to be back in the States and start using Annie Sloan products. LOVE how you transformed the table!
Wow. I like the current look of it. The chalk paint really is a saver. The table looked more classy and with edge. Loving it! 😀
I want to color my table and stool with yellow paint. Suggest me for color combination!
It looks great and it perfectly matches the interior of the room! Good job! I admire your motivation to transform the table.
These are vintages I guess. They surely look awesome.
You did a great job! I love it!!!